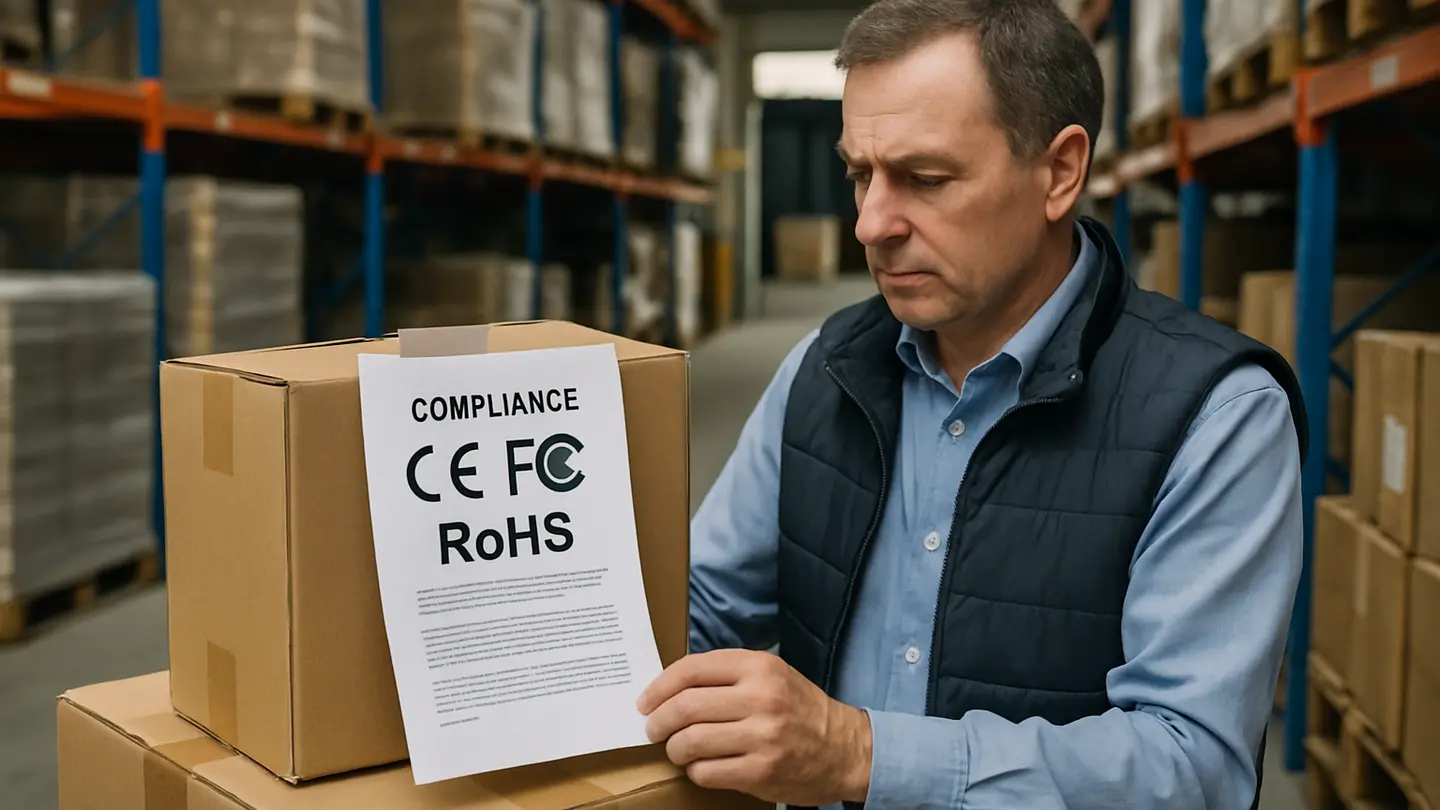
During production inspection is a quality-control checkpoint conducted while a shower product order is still being manufactured. It gives importers an opportunity to find material substitutions, dimensional errors, surface defects, assembly problems, and packaging mistakes before the full order is completed.
Detecting defects early usually means less rework, lower material waste, and more time to protect the shipping schedule. An independent inspector can also provide a more objective assessment than a factory’s internal report, especially when findings are supported by photographs, measurements, sample references, and production records.
Prepare the Inspection Brief Before Visiting the Factory
A useful inspection begins before anyone enters the factory. The inspector needs a clear reference package that defines what the shower product should be and how the findings will be judged. Preparing this brief in detail ensures that all parties have a common understanding of quality expectations.
The brief may include:
- Approved samples or sealed reference samples
- Product drawings and dimensional tolerances
- Material and grade requirements
- Surface-finish specifications
- Flow-rate, pressure, temperature, or leak-test requirements
- Component lists and approved sub-suppliers
- Packaging artwork and packing instructions
Define defect severity before the inspection. A critical defect may create a safety, regulatory, or serious functional risk. Major defects might prevent proper installation or use, while minor defects may affect appearance without preventing normal use. Clear definitions help set a threshold for decision-making during the inspection process.
Plan access to active production lines, assembly and testing areas, raw-material storage, packing stations, and finished-goods locations. Confirm that the inspector can select samples independently and photograph defects, labels, test instruments, packaging, and relevant workstations. This proactive approach can eliminate any ambiguity and maintain transparency.
A Practical During Production Inspection Process for Importers
A practical during production inspection process follows a logical sequence:
- Plan the inspection against the production schedule.
- Define the work-in-progress lot.
- Calculate and select the inspection sample.
- Compare samples with the approved specification.
- Check physical quality, function, and packaging.
- Report defects and require corrective action.
For complex shower products, this process may need to cover several stages. Inspecting only finished cartons can conceal when and where the problem began. An on-site inspection provides stronger evidence of both product condition and manufacturing activity.
Furthermore, maintaining open communication channels with the production team encourages cooperation and facilitates immediate corrective actions whenever deviations are detected.
Schedule the DUPRO When 20% to 50% of the Order Is Complete
A DUPRO, or during production inspection, is most useful when enough representative work-in-progress exists to reveal production trends. A common planning window is after approximately 20% to 50% of the order has been produced.
This threshold allows the inspector to identify early signs of issues that may affect the entire order while still providing time to correct them without significant delays. Subsequent corrective actions, if needed, can be implemented effectively to mitigate risks.
Ask the factory to confirm that mass production is active. Compare the work-in-progress count with the production plan and examine multiple active lines or workstations when possible. Seeing the operation first-hand allows for a better grasp of factors that influence quality outcomes.
A physical visit can reveal conditions that photographs or video overlook. An inspector may notice poor lighting, dust, or inconsistent storage that could explain defects found in the samples and help prevent recurrence. The engagement with the on-ground personnel also offers insights into workforce challenges that may lead to quality fluctuations.
Set the WIP Lot and Calculate the Inspection Sample
Sampling is meaningful only when the lot is clearly defined. A work-in-progress lot might consist of one production shift, one material batch, or one model and finish combination. Avoid using vague descriptions. If different processes are used for various components, consider defining and sampling them separately.
After defining the lot, select the inspection level and corresponding sampling code letter under ISO 2859-1, where that standard is suitable for the inspection plan. Choosing the right level is crucial to avoid either over-sampling (leading to inefficiency) or under-sampling (increasing the risk of missing defects).
A WIP AQL result should be treated as an indicator of process risk. During production, some units may be incomplete, and some defects may be repairable. The acceptance decision at this stage is more about understanding trends and preventing further issues rather than an absolute pass or fail.
The report should state:
- The lot definition and quantity
- The models, finishes, or configurations included
- The inspection level and sampling basis
- The sample size
- The number and severity of defects found
If the factory changes the lot definition during the inspection, document the change meticulously. Clarity in documentation aids future audits and references, providing a clear trail of actions and decisions taken.
Compare Random WIP Samples With the Approved Shower Specification
Select samples randomly and photograph the selection process if the buyer is not present. Random sampling reduces bias and ensures that findings are representative of the entire lot.
Important comparison points may include:
- Body dimensions, thread sizes, hole positions, and mounting geometry
- Wall thickness and visible molding or casting quality
- Correct material for bodies, brackets, hoses, fasteners, and water-contact parts
- Finish color, gloss, texture, plating coverage, and resistance to visible peeling
Do not rely only on visual review. Operate handles and components to test function. Examine construction that may be hidden after assembly. This thorough approach ensures that latent defects, which might only become apparent during actual use, are identified early.
Record deviations immediately against the approved requirement. If the buyer wants to accept a variation, document the written approval and identify the affected models or batches. This provides a clear record of acceptance and minimizes disputes.
Run the Physical Quality and Packaging Checklist
The physical checklist should cover appearance, workmanship, operation, hidden defects, and packing accuracy.
Inspect workmanship for burrs, sharp edges, discoloration, poor polishing, and inconsistent print registration. Perform practical function checks to ensure the product operates as intended.
Look for hidden defects such as:
- Internal leakage
- Misaligned or damaged seals
- Water stains, corrosion, or oxidation
Packaging checks should be performed before cartons are sealed whenever possible. Verify the correct product and accessory combination, protective films, inserts, and installation guides. Proper packaging inspection prevents damage during transit and ensures that end-users receive high-quality products.
Laboratory testing remains necessary for characteristics that cannot be confirmed on the line. It solidifies the assurance that all regulatory and functional requirements are met.
Classify Defects and Build an Evidence-Based Report
Classify every finding according to the agreed critical, major, or minor standards. This classification promotes consistency in evaluation and ensures that the most serious issues receive the attention they deserve.
A useful report records:
- Inspection date, location, and production stage
- Supplier, purchase order, and product identity
- Lot definition and quantity observed
- Requirement or reference used
- Defect description
- Factory explanation
- Required corrective action
- Reinspection date or release condition
Photographs should show both the defect and its context. Repeated patterns are especially important. Good documentation helps track the history of defects, assisting both current resolution and future improvement initiatives.
Make Corrective Action and Reinspection Enforceable
The response to an inspection depends on severity, frequency, and the stage of production. Possible outcomes include continued monitoring, a conditional hold, or a failed result followed by rework and reinspection.
When defects exceed agreed requirements, quarantine suspect WIP. Mark affected units clearly and keep them separate. This action prevents defective products from being inadvertently shipped or processed further.
The corrective-action plan should identify:
- The immediate containment measure
- The suspected root cause
- The rework or replacement method
- The permitted waste or scrap limit
- The reinspection date
Correction must be observed, not merely promised. A focused reinspection should confirm that visible defects and their causes have been properly addressed.
Resolve Common DUPRO Inspection Problems
When Defects Repeat Across Samples
Widen the sample when identical defects appear repeatedly. Require an immediate process correction. This may involve revisiting manufacturing practices or retraining staff to enhance process adherence.
Do not allow continued production with sorting unless agreed and verified. Inspect a focused sample after correction to ensure defects have not migrated to other lines. This safeguards the integrity of ongoing production processes.
When the WIP Quantity Is Not Clearly Defined
Use a consistent production basis and document the definition in the report. Clear documentation ensures that everyone involved has the same understanding of the production scenario.
If the lot definition changes, recalculate the sample and record why. Document discrepancies if available WIP is smaller than reported. It maintains accountability and integrity of the inspection process.
When Packaging or Label Details Are Wrong
Stop incorrect packaging or label materials before they reach the production line. Accuracy in these aspects is as crucial as the product itself since it reflects brand quality and compliance with legal standards.
Approve and verify corrected artwork on site. Perform a focused recheck across the relevant production quantity. Assign rework responsibility explicitly in the purchase order to avoid any confusion about who bears the cost of errors.
FAQ
What is the difference between a DUPRO and a Pre-Shipment Inspection?
A DUPRO takes place during manufacturing and evaluates work-in-progress, materials, and emerging defects. Its main value is timing: the factory can correct issues before completion.
A pre-shipment inspection evaluates completed goods and focuses on finished-product quality. Both inspections may use statistical sampling, but they serve different purposes. DUPRO manages process risk; pre-shipment inspection supports the final release decision.
Who pays for the DUPRO inspection?
The buyer commonly pays the independent third-party inspection agency. The purchase order should state who pays for rework labor, replacement materials, and additional inspections. Clarifying this in advance minimizes conflict and ensures smooth collaborations.
What happens if the factory fails during a production inspection?
When serious defects are confirmed, halt production and quarantine defective work-in-progress. The factory should investigate and correct the root cause before restarting.
Require a documented corrective-action plan and a focused reinspection. Release the affected goods only after verifying agreed requirements have been met. This structured approach helps maintain trust between buyer and supplier and supports long-term quality improvements.