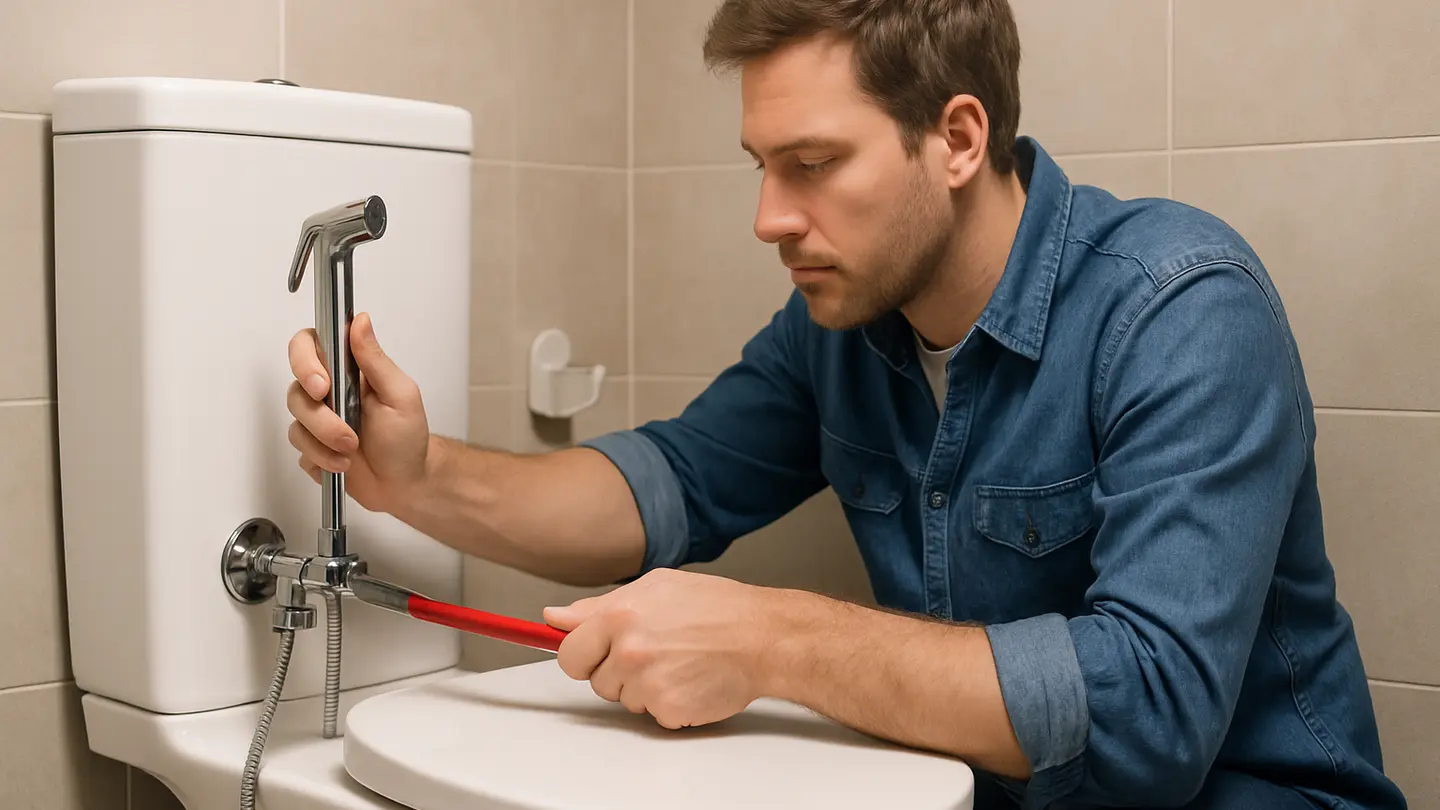
Installing a handheld bidet shower is one of the more approachable bathroom upgrades for homes, rental units, hospitality properties, and commercial washrooms. A typical kit connects to the existing toilet water supply, so the job often requires only basic tools, careful threading, and a patient leak check.
This guide explains how to install a bidet shower in beginner-friendly terms. The focus is on common cold-water handheld sprayer kits that include a T-valve, flexible hose, spray nozzle, and holder. Exact parts vary by model, so always compare these steps with the manufacturer’s instructions supplied with your kit.
A properly installed bidet shower can improve daily hygiene, add comfort for users, and make a standard toilet more versatile without replacing the entire fixture.
What Is a Bidet Shower?
A bidet shower is a handheld spray nozzle used for personal cleaning after toilet use. It is also commonly called a handheld bidet, bidet spray, Muslim shower, hygiene sprayer, health faucet, or toilet hand shower, depending on the market.
Unlike a standalone bidet fixture, a handheld bidet shower normally connects to the toilet’s existing water supply line. When the user presses the trigger or button on the sprayer, water flows through a flexible hose and out of the nozzle. The sprayer is usually mounted on the side of the toilet tank or on a nearby wall within easy reach.
Most standard bidet shower kits include four main components:
- Spray nozzle: The handheld sprayer with a trigger, button, or lever.
- Flexible hose: The water line connecting the T-valve to the sprayer.
- Holder or bracket: A tank-mounted or wall-mounted place to store the sprayer.
- T-valve: A small fitting that splits the existing toilet water supply so one outlet feeds the toilet tank and the other feeds the bidet hose.
For B2B buyers, these components are also useful inspection points when comparing products. Hose flexibility, valve material, washer quality, plating consistency, and trigger durability can all affect installation reliability and after-sales service requirements.
What to Prepare Before Installation
Before opening the water line, prepare the workspace and confirm that the kit matches the toilet connection. Most handheld bidet shower kits are designed for common toilet tank inlet arrangements, but connection sizes and thread types can vary by region.
Gather the following items:
- Bidet shower kit with T-valve, hose, sprayer, holder, washers, and instructions
- Adjustable wrench or pliers
- Plumber’s tape, if allowed by the kit instructions
- Towel or rag
- Small container or shallow tray for residual water
- Screwdriver and wall anchors, if using a wall-mounted holder
Start by locating the toilet’s water supply shutoff valve, usually positioned on the wall or floor near the toilet. Turn the valve clockwise until it stops. Do not disconnect any hose before shutting off the water.
Next, flush the toilet to empty most of the water from the tank. Hold the flush lever down briefly if needed to drain as much water as possible. Some water will remain in the tank and supply hose, so place a towel under the connection point and keep a small container nearby.
The flexible supply hose is normally connected to the fill valve inlet at the bottom of the toilet tank. This is the connection you will loosen to install the T-valve. Use your hand first; if the nut is tight, use an adjustable wrench or pliers carefully. Avoid twisting the toilet fill valve inside the tank, as damaging it can create a separate repair issue.
Before proceeding, check the kit parts against the instructions. Make sure rubber washers are present and undamaged. Many leaks are caused not by poor tightening, but by a missing or misaligned washer.
Step-by-Step Bidet Shower Installation
A handheld bidet shower installation converts a standard toilet into a bidet-equipped fixture without replacing the bowl or tank. The process is usually straightforward: shut off the water, add the T-valve, connect the toilet and bidet hoses, mount the holder, and test for leaks.
Work slowly and avoid forcing threaded parts. Plastic and metal threads can cross-thread if they are started at an angle, and overtightening can crush washers or crack fittings. If anything feels misaligned, loosen the part and start again.
Step 1: Connect the T-Valve and Water Supply Lines
Begin at the toilet tank inlet where the original flexible supply hose was disconnected. The T-valve should attach to the fill valve connection at the bottom of the tank. Confirm the correct orientation before tightening: one outlet will connect back to the toilet supply hose, and the side outlet will connect to the bidet hose.
Thread the T-valve onto the toilet tank fill valve connection by hand. Turn it slowly and make sure it seats straight. If you feel resistance after only one or two turns, stop and realign the fitting. Cross-threaded connections may leak and can damage the toilet fill valve.
Once the T-valve is hand-tight, use a wrench only if the instructions recommend it. If you do use a tool, tighten gently. The goal is a firm seal, not maximum force.
Next, reconnect the toilet’s flexible supply hose to the lower outlet of the T-valve. This restores the water path from the shutoff valve to the toilet tank. Again, start by hand and keep the threads aligned.
Then attach one end of the bidet hose to the side outlet of the T-valve. Check whether the hose connector contains a rubber washer. If the washer is not seated flat inside the connector, adjust it before tightening.
Plumber’s tape may help seal certain threaded connections, but it is not always required. Many bidet hoses rely on rubber washers rather than thread sealant. Use plumber’s tape only where appropriate and where the kit instructions allow it. Applying tape to the wrong type of connection can interfere with washer seating.
Step 2: Attach the Bidet Hose to the Sprayer
After the T-valve side of the hose is connected, attach the free end of the bidet hose to the sprayer handle.
Look inside the hose connector before threading it onto the sprayer. A rubber washer should be seated evenly inside the nut. If the washer is missing, folded, cracked, or off-center, the connection may leak even if it feels tight.
Thread the connector onto the sprayer by hand. Keep the sprayer handle still and rotate the hose nut until snug. Hand-tightening is usually sufficient for this connection, especially when a washer provides the seal. If the instructions call for a wrench, use light pressure and avoid scratching the finish or crushing the fitting.
Some kits include extra seals, mesh filters, flow restrictors, or small adapter pieces. Follow the supplied instructions for the correct order of these components. A filter or washer installed in the wrong location can reduce water flow, create a poor seal, or make the trigger feel inconsistent.
Before final use, press the trigger or button gently while the water is still off. This confirms that the control moves freely and is not stuck from packaging or transit. Do not force the trigger if it feels jammed; inspect the sprayer and check the instructions before adding water pressure.
Step 3: Mount the Bidet Shower Holder
The holder should be positioned where the sprayer is easy to reach while seated on the toilet, but not so low that the hose drags on the floor or kinks sharply.
Many kits provide either a tank-mounted bracket or a wall-mounted bracket. A tank-mounted bracket is usually the simplest option. It hangs over the edge of the toilet tank and is secured when the tank lid is replaced. This approach avoids drilling and is useful for rental properties, temporary installations, and quick retrofits.
A wall-mounted bracket can look cleaner and may provide better ergonomics in some bathroom layouts. However, it usually requires screws and wall anchors. Before drilling, check for hidden pipes, electrical wiring, waterproofing layers, and tile conditions. In commercial or hospitality settings, confirm that drilling into tiled walls is approved by the property owner or facility manager.
Choose a height that allows the user to pick up and return the sprayer naturally. The hose should curve smoothly from the T-valve to the holder without sharp bends. Kinking can reduce water flow and shorten hose life.
If the holder is mounted too far from the toilet, the hose may be stretched during use. If it is too close to the floor, the sprayer may be exposed to splashing or cleaning chemicals. Aim for a practical position that supports both user comfort and maintenance access.
Step 4: Turn the Water Back On and Check for Leaks
When all connections are complete, make sure the sprayer is pointed into the toilet bowl. Then turn the toilet water supply valve back on slowly. Opening the valve gradually gives you time to spot leaks before full pressure reaches the system.
Inspect each connection carefully:
- The shutoff valve and original supply hose connection
- The supply hose connection to the T-valve
- The T-valve connection to the toilet tank inlet
- The bidet hose connection to the T-valve
- The bidet hose connection to the sprayer
Use a dry tissue or paper towel around each joint to detect small drips. Some leaks are too minor to see immediately but will show as moisture on the paper.
If dripping appears, turn the water off before making adjustments. Then check whether the connector is loose, the washer is missing, or the threads are misaligned. Tighten gently, reseat the washer, or reapply plumber’s tape only where suitable. Turn the water back on and test again.
For the first functional test, aim the sprayer into the toilet bowl and press the trigger lightly. Confirm that water starts and stops reliably. If the pressure is too strong, adjust the shutoff valve slightly if appropriate, or use the pressure control provided by the kit if it has one.
After testing, return the sprayer to its holder and inspect again after several minutes. It is also wise to check the area later the same day. A slow drip can damage flooring, cabinetry, or ceiling finishes below the bathroom if left unnoticed.
Tools for Finding and Evaluating China Suppliers
Once installation requirements are clear, B2B buyers can use sourcing platforms to compare bidet shower kits, replacement hoses, T-valves, and related bathroom fixture components. Made-in-China.com is a B2B sourcing platform that can help buyers research supplier options after they have defined target materials, connection standards, packaging needs, and expected order quantities.
Supplier Discovery can support early shortlist building by giving buyers additional ways to find and narrow potential suppliers, including Audited Suppliers and regional supplier channels. This is useful when comparing bathroom fixture vendors across multiple product categories rather than relying only on a single search result.
For early-stage evaluation, Made-in-China.com’s Audited Supplier feature indicates that suppliers are subject to third-party verification and on-site audit, with Audit Reports available for buyer review. These Audit Reports can cover areas such as general information, export trade, manufacturing capacity, quality control, and R&D capability. They do not replace direct due diligence, samples, or contract review, but they can provide structured information before deeper negotiations.
FAQ
Can you install a bidet yourself?
Yes, many bidet attachments, bidet seats, and handheld bidet sprayers are designed for DIY installation. A simple toilet-connected bidet shower kit usually requires only basic tools such as an adjustable wrench, a towel, and sometimes plumber’s tape.
The main requirements are shutting off the toilet water supply, connecting the T-valve correctly, checking that washers are seated, and testing carefully for leaks. If the toilet shutoff valve is corroded, the supply hose is damaged, or the connection type does not match the kit, it is better to pause and get professional help.
Do I need a plumber to install a bidet?
For many handheld sprayers, bidet attachments, and bidet seats, a plumber is not necessary. These products usually connect to the existing toilet water supply and are designed for straightforward installation.
A plumber is more likely to be needed for standalone bidet fixtures, concealed plumbing, hot-and-cold mixing systems, wall-hung toilets, or bathrooms where existing valves and hoses are old or nonstandard. In commercial projects, professional installation may also be required by building policy, warranty terms, or local code.
What is the downside of a bidet toilet?
Potential downsides include upfront cost, additional components to maintain, and the need to check hoses, valves, seals, and controls over time. Basic cold-water bidet showers may feel uncomfortable for some users, especially in colder climates.
Electronic bidet seats and advanced bidet toilets can offer more comfort features, but they may require a nearby electrical outlet and more maintenance than a standard toilet. Higher-end systems can also be more complex to troubleshoot, which matters for hotels, offices, and multi-unit properties where maintenance teams need consistent parts and clear service procedures.
Do you need extra plumbing for a bidet?
Simple bidet attachments, bidet seats, and handheld sprayers usually do not need extra plumbing. They typically use the existing toilet supply line and add a T-valve to feed both the toilet tank and the bidet device.
Standalone bidet fixtures are different. They normally require separate plumbing connections, drainage, fixture space, and professional installation. For retrofit projects, the simplest approach is usually a toilet-connected bidet shower or seat, provided the existing shutoff valve and supply line are in good condition.