A shower order can look acceptable on a supplier’s quotation and still fail on arrival: leaking fittings, scratched finishes, missing screws, weak hoses, cracked glass, unreadable labels, or packaging that cannot survive export handling. A practical product inspection guide helps buyers prevent these problems before goods leave the shower manufacturer.
For shower products, quality assurance should start before production. Importers should define specifications, defect limits, tests, packaging rules, and compliance expectations, then make shipment decisions from documented evidence: measurements, photos, functional tests, quantity checks, and clear pass/fail criteria.
Build a Defect-Prevention System for Imported Shower Products
A product inspection guide is most useful when it works as a defect-prevention system, not just a final report. Shower products combine brass or stainless steel parts, zinc alloy handles, plastic housings, rubber seals, ceramic cartridges, tempered glass, hoses, brackets, fasteners, cartons, labels, and instruction sheets. One weak component can make the whole product unacceptable.
A strong inspection system should define:
- What product version is approved for production
- Which drawings, samples, materials, finishes, and dimensions apply
- What counts as a critical, major, or minor defect
- Which AQL limits and sampling plans inspectors will use
- Which functional and safety tests are mandatory
- What evidence must appear in inspection reports
- What happens when defects exceed the agreed limit
This reduces rework, returns, shipment delays, and disputes because the buyer, supplier, and inspector use the same rules before goods are packed.
1. Verify the Shower Factory Before Any Production Run
Before confirming a large purchase order or long-term supply contract, buyers should verify that the shower manufacturer can produce the required goods at the required quality level. A supplier audit is especially important for shower enclosures, panels, faucets, mixer valves, hoses, and products where leakage, glass safety, surface finish, and component compatibility matter.
Start by confirming the factory’s legal identity, business scope, address, and production site. The company name on the quotation, business license, bank documents, export documents, and certificates should match or be clearly explained. If the supplier claims to manufacture shower enclosures but the site only has a trading office, that is a risk signal.
The audit should review production capacity and equipment, such as:
- Assembly lines for faucets, showers, panels, or enclosures
- Polishing and finishing areas
- Plating or outsourced surface-treatment controls
- Glass storage, cutting, edging, drilling, or tempering controls
- Injection molding areas for plastic components
- Hose assembly and crimping equipment
- Pressure and leakage test stations
- Torque, tensile, or dimensional testing tools
- Packaging lines and finished-goods storage areas
The purpose is not only to see machines. Buyers need to know whether the production flow can control tolerances, prevent damage, and separate approved goods from rejects.
Ask for defect records, nonconformance logs, corrective-action reports, and tolerance-control data. A factory that tracks leakage failures, plating rejects, carton damage, missing accessories, or dimensional problems is usually easier to manage than one that says “no problems” but has no records.
Traceability is also critical. Shower products often depend on components from multiple sources. The factory should identify which cartridge, hose, seal, glass panel, valve, bracket, screw pack, carton batch, or label batch went into a production lot. Without traceability, one defective component lot can create a broad recall or require expensive sorting.
Watch for hidden subcontracting, fake certificates, or mismatched capabilities. If the supplier cannot explain where key processes happen, refuses to show production areas, or presents certificates that do not match the product or factory name, stop the order until the issue is resolved.
2. Set Defect Categories, AQL Limits, and Shower Test Criteria Up Front
Inspection disputes often happen because the buyer and supplier never agreed on what “acceptable” means. Before production starts, define defect categories, AQL limits, inspection levels, sample sizes, and test criteria in writing.
Use three practical defect classes:
| Defect class | Meaning for shower products | Examples |
|---|---|---|
| Critical | Safety, legal, or severe functional risk | Cracked safety glass, sharp exposed edges, electrical risk in applicable products, serious leakage, unsafe fittings |
| Major | Product cannot be sold or used as intended | Wrong dimensions, non-functioning valve, missing hardware, poor hose connection, visible plating failure, incorrect model |
| Minor | Does not normally stop use but affects appearance or presentation | Small cosmetic mark within agreed limit, slightly uneven label, minor carton scuffing |
Common defect risks include leakage, poor flow, incorrect thread or fitting compatibility, cracked glass, sharp burrs, loose brackets, weak hose crimping, scratched or pitted plating, color variation, missing screws or anchors, wrong instruction sheets, unreadable barcodes, and damaged retail packaging.
AQL limits should be selected before inspection. The purchase order or quality agreement should state the sampling standard, inspection level, acceptance limits for critical, major, and minor defects, and any special rules for safety-related issues. Many buyers set zero tolerance for critical defects.
The inspection checklist should include shower-specific tests, such as:
- Leakage checks for faucets, valves, hoses, and connectors
- Pressure tests according to the product specification
- Flow checks where flow rate is a selling or compliance requirement
- Thread and fitting compatibility checks
- Torque checks for handles, brackets, and fasteners
- Coating adhesion checks where relevant
- Salt-spray or corrosion-resistance requirements where specified
- Glass dimension, edge, hole, and safety-mark verification
- Hose pull or tensile checks
- Packaging drop or handling tests when required
- Barcode scans and label verification
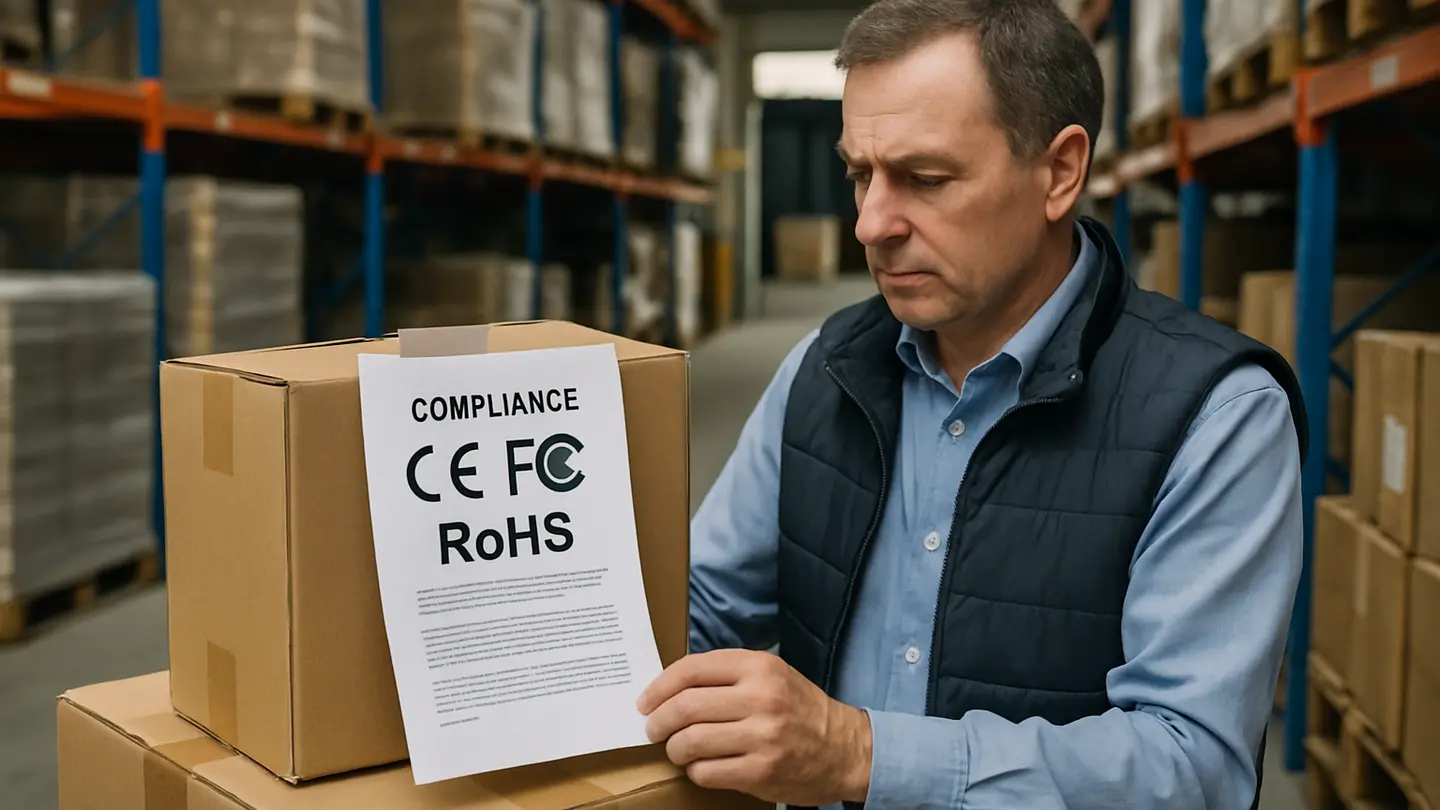
Compliance requirements must be confirmed for the destination market before shipment approval. Depending on the product and market, buyers may need to verify safety markings, plumbing standards, material restrictions, water-contact requirements, labeling, country-of-origin marks, and installation instructions.
3. Inspect Shower Production While the Line Is Still Running
In-line inspection helps catch quality problems while there is still time to correct them. Waiting until all shower products are sealed in master cartons can turn a manageable process issue into a full shipment hold.
During production inspection should use objective random sampling. Inspectors should select units from active production, semi-finished goods, rework areas, and packed output where appropriate. They should not rely only on samples handed over by the supplier.
Typical in-line checks include:
- Workmanship and surface finish
- Dimensions against drawings or approved samples
- Assembly fit and alignment
- Valve, hose, spray, and diverter functions
- Leakage and pressure performance
- Glass fit, edge finish, holes, and hardware compatibility
- Accessory completeness
- Instruction sheets and warning labels
- Retail box and master carton condition
- Barcodes, item labels, and shipping marks
- Traceability labels or batch codes
The inspector should look for patterns, not only isolated defects. If defects are clustered in one shift, line, component batch, or operator station, the problem may be process-related. Excessive rework, repeated leakage, mixed component lots, inconsistent carton labels, or recurring missing hardware should trigger escalation.
When production is unstable, the right action may be a production pause, machine adjustment, tool repair, component replacement, operator retraining, or formal corrective action.
4. Check Packed Goods Before Releasing the Shower Shipment
Pre-shipment inspection should happen when shower goods are fully produced and packed, but before container loading or final pickup. This is the buyer’s last practical chance to verify shipment quality without overseas sorting, repacking, or return handling.
Start with quantity reconciliation. Inspectors should compare actual finished quantities with the purchase order, packing list, carton count, SKU breakdown, and shipment plan. Short shipments, mixed models, or incorrect carton counts can create customs, warehouse, and retail problems.
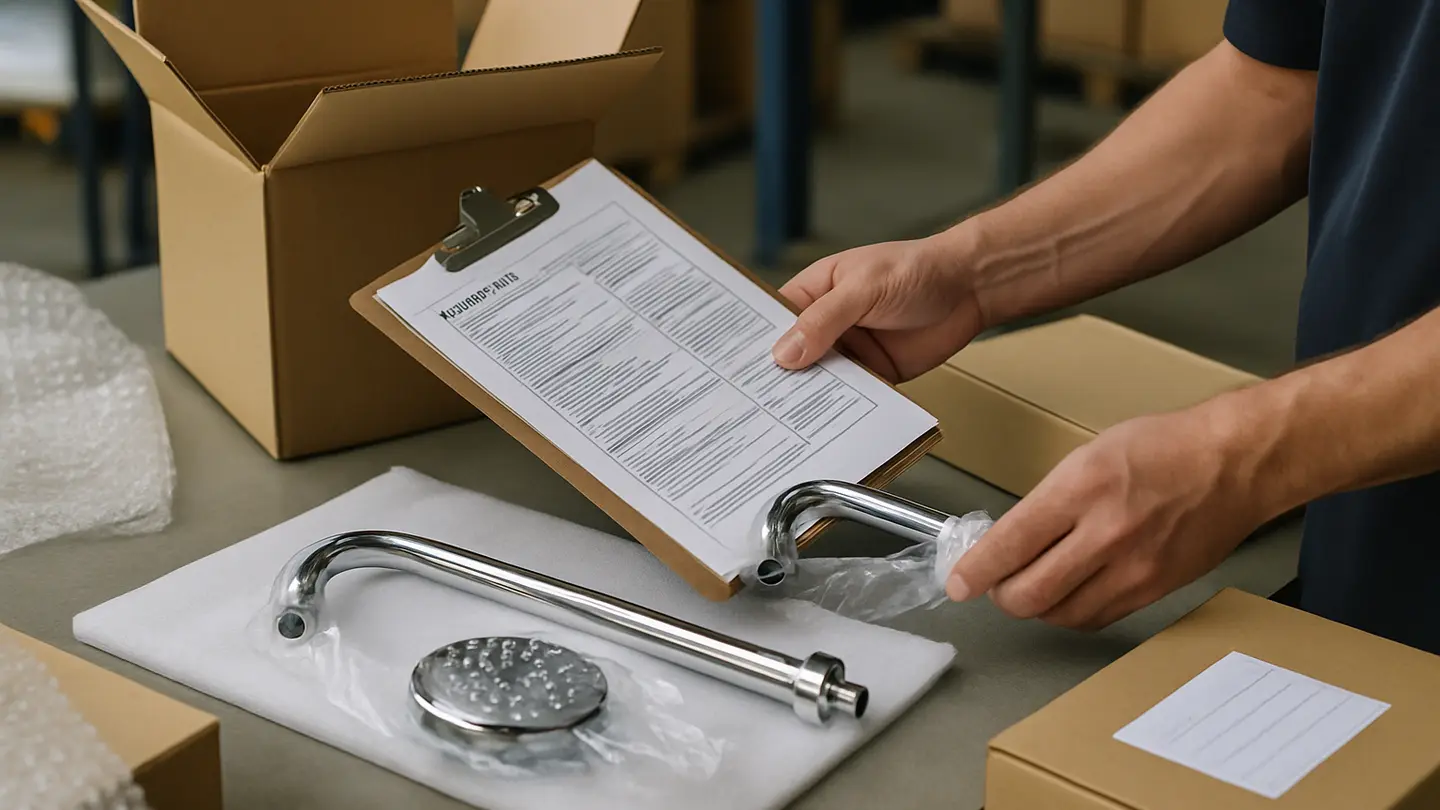
The inspection should verify product specifications and core functions by opening sampled cartons and checking model, finish, dimensions, accessories, installation hardware, instruction sheets, seals, hoses, glass panels, brackets, valves, and packaging components. Functional tests should follow the approved checklist, not supplier statements.
Packaging deserves close attention. Export risks include weak cartons, moisture exposure, insufficient glass protection, loose fittings inside boxes, unstable pallets, incorrect labels, poor corner protection, and missing handling marks. Shower enclosures and glass panels need protection against edge impact and movement. Faucet and shower sets need internal protection so metal parts do not scratch each other.
Inspectors should also check:
- Retail labels and barcodes
- Country-of-origin marks where required
- Shipping marks
- Gross and net weight
- Carton dimensions
- Pallet condition
- Carton sealing
- Mixed-carton accuracy
- Moisture or storage damage
After inspection, the buyer needs a clear shipment disposition: approve shipment, require rework, sort defective units, increase sampling, reinspect after correction, reject the shipment, or accept a documented discount with known risk. The decision should be based on evidence, not pressure from the ship date.
How to Put the Shower Factory Inspection Plan Into Action
A written inspection plan only works if it is executed correctly on the factory floor. Inspectors should use calibrated tools, actual tests, and documented sampling rather than accepting supplier claims.
Step 1: Run a Live Tensile-Strength Test on Shower Components
Tensile-strength testing is useful for parts that must resist pulling force during installation or use, including shower hoses, wall brackets, handles, adhesive mounts, connector assemblies, hose crimps, and certain fastened components.
Use random samples from the active production line or finished-goods lot. Avoid supplier-prepared “inspection samples” unless they are clearly marked as reference samples and not used for lot acceptance. Record the batch identity, SKU, sample source, and production date before testing.
The test setup matters. The clamp should hold the part without damaging it unrealistically. Pull direction should match the intended stress direction as closely as possible. The load method should follow the approved specification or test plan. If the buyer has defined a required force level, the inspector should record whether the component met it.
Photograph or record the final force reading, test setup, and failure point if the sample fails. Failed samples should be tagged, segregated, and prevented from mixing back into approved goods. The report should state whether failure was caused by hose separation, bracket breakage, adhesive release, fastener pullout, or material fracture.
Step 2: Ask Floor Inspectors About Recurring Shower Defects
Factory floor inspectors and line workers often know the real defect patterns before management summarizes them. Ask practical questions: Which model leaks most often? Which finish scratches easily? Which carton fails in packing? Which accessory is often missing? Which glass panel is hard to align?
Plastic defects may be linked to cooling, molding conditions, warping, flashing, sink marks, brittleness, or material inconsistency. Metal defects may relate to worn tools, burrs, poor polishing, plating thickness issues, rough casting, or thread damage. Rubber and sealing parts may fail because of hardness variation, poor fit, contamination, or incorrect material selection.
Inspectors should also review scrap bins, reject areas, and rework stations. Hidden rejects, overflowing rework tables, or repeated repair of the same defect can show that the process is not under control.
Safety-related issues must not be downgraded as cosmetic concerns. Sharp metal edges, exposed burrs, cracked glass, loose load-bearing brackets, unsafe fittings, and serious leakage should be treated with proper severity.
Step 3: Review 12 Months of Inspection and Defect Data
One shipment inspection shows current lot status. A 12-month review shows whether the supplier is improving or repeating the same mistakes. Buyers should track defect types, root causes, corrective actions, and landed-cost impact over time.
For shower products, recurring category problems may include:
- Leakage in valves, hoses, or connectors
- Finish corrosion or plating discoloration
- Missing screws, anchors, washers, or instruction sheets
- Carton collapse or glass breakage during transport
- Dimensional mismatch between glass and hardware
- Barcode or label errors
- Poor thread compatibility
- Inconsistent water flow or diverter function
Review defect rates by product type, material, production line, supplier, component lot, and shipment. A supplier may perform well on simple shower heads but poorly on shower panels. Another may produce good metal parts but repeatedly fail packaging checks.
Early intervention is usually cheaper than correction after import. Use audit history and inspection data to decide whether the supplier deserves larger orders, closer monitoring, or replacement.
Step 4: Require Evidence-Based Inspection Reports
Inspection reports should be factual, specific, and tied to the buyer’s requirements. Vague comments such as “acceptable,” “normal,” or “almost OK” do not support a reliable shipment decision.
A useful report should include:
- Inspection date and timestamps
- Inspector name or inspection team reference
- Factory name and location
- Purchase order number
- SKU, model, and product description
- Lot size and sample size
- Sampling method
- Carton numbers or sample sources
- Product specifications checked
- Test methods and results
- Defect classification
- Photos and measurements
- Corrective-action requests
- Recommended shipment disposition
Defect photos should be measurable where size, quantity, or location affects acceptance. A scratch on a visible chrome surface should show its length and position. A gap in an enclosure frame should be measured. A carton crush should show the affected panel and whether the product inside was damaged.
Every pass, fail, or pending result should connect to the purchase order, approved sample, drawing, AQL plan, product specification, or test requirement. The report should also state what action the supplier must take: rework, replace parts, sort units, improve packaging, relabel cartons, retest, or hold shipment pending buyer approval.
FAQ
1. When should I choose a factory audit vs. a pre-shipment inspection?
Choose a factory audit before signing a supplier contract or placing a major shower order. The audit verifies whether the supplier has the legal status, production capability, equipment, quality systems, capacity, and traceability needed for your product.
Choose a pre-shipment inspection near the end of production, when finished goods are packed but not yet loaded. This verifies whether the actual shipment meets your specifications, quantity, function, packaging, and labeling requirements.
For higher-risk shower products, use both. The audit reduces supplier-selection risk; the pre-shipment inspection reduces shipment-release risk.
2. When does random sampling stop being enough?
Random sampling becomes weak when defects are clustered by carton, production line, shift, batch, operator, or component lot. If several sampled units show the same major defect, such as leakage, unsafe edges, cracked glass, or missing hardware, the issue may not be random.
Escalate when production control appears lost. Options include increased sampling, targeted sorting, 100% inspection of affected lots, production hold, rework, and reinspection. Root-cause correction should happen before final shipment approval.
3. What should I do if a factory refuses third-party inspection?
Refusal of reasonable third-party inspection is a serious supplier risk signal. Inspection access, sampling rights, reinspection terms, and consequences for failed inspections should be written into the purchase order or supply agreement before production begins.
If a factory blocks access after accepting the order, pause shipment approval and request a clear explanation. Refusal may indicate hidden subcontracting, unfinished goods, compliance gaps, or undisclosed quality problems. Buyers should avoid suppliers that will not allow independent quality verification.
4. How can I verify the inspector is independent and the report is trustworthy?
Ask for evidence that confirms the inspection occurred on site and that samples were selected properly. Useful proof includes timestamped photos, factory exterior photos, live video, original image files, sample-selection records, carton numbers, and test photos or videos.
Compare the inspection report with the purchase order, packing list, production records, and supplier corrective-action responses. A trustworthy report should clearly link each defect and test result to the approved specification, AQL plan, or shipment requirement.